How to Use Dupont Crimping Pliers#
Tools: From left to right: crimping pliers, wire stripping pliers, terminals, flat-nose pliers, diagonal pliers
 Crimping pliers are essential, the rest are optional
Crimping pliers model: 28B, price around 45 yuan
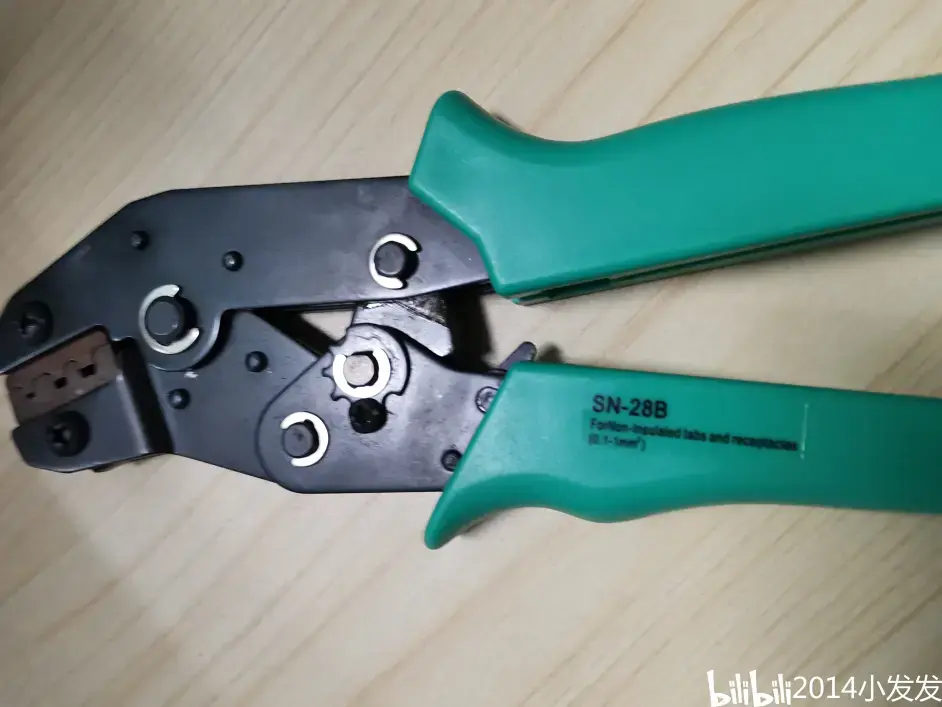
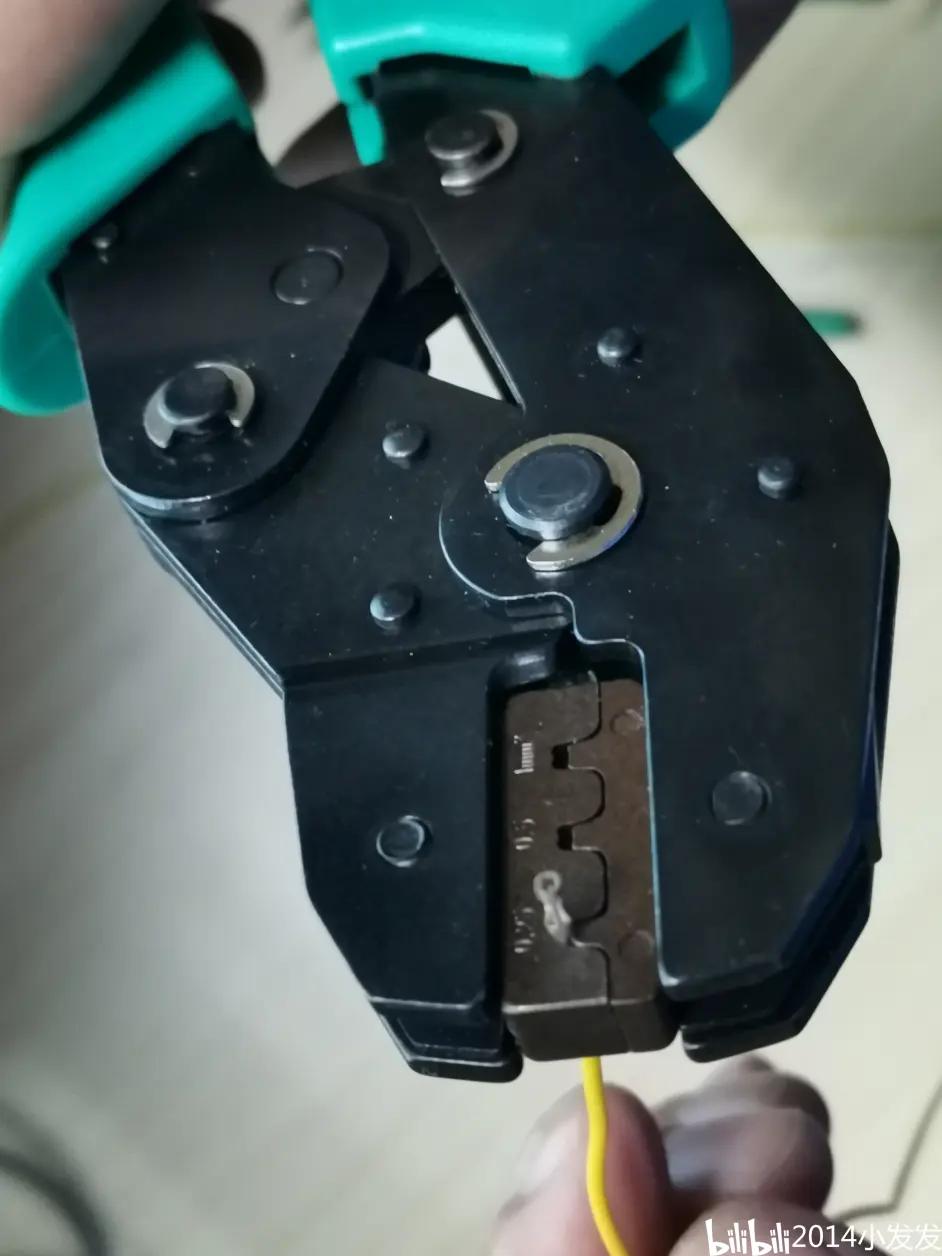
The ratchet mechanism of the crimping pliers has five tooth grooves, corresponding to five scale positions when pressed, making a clicking sound
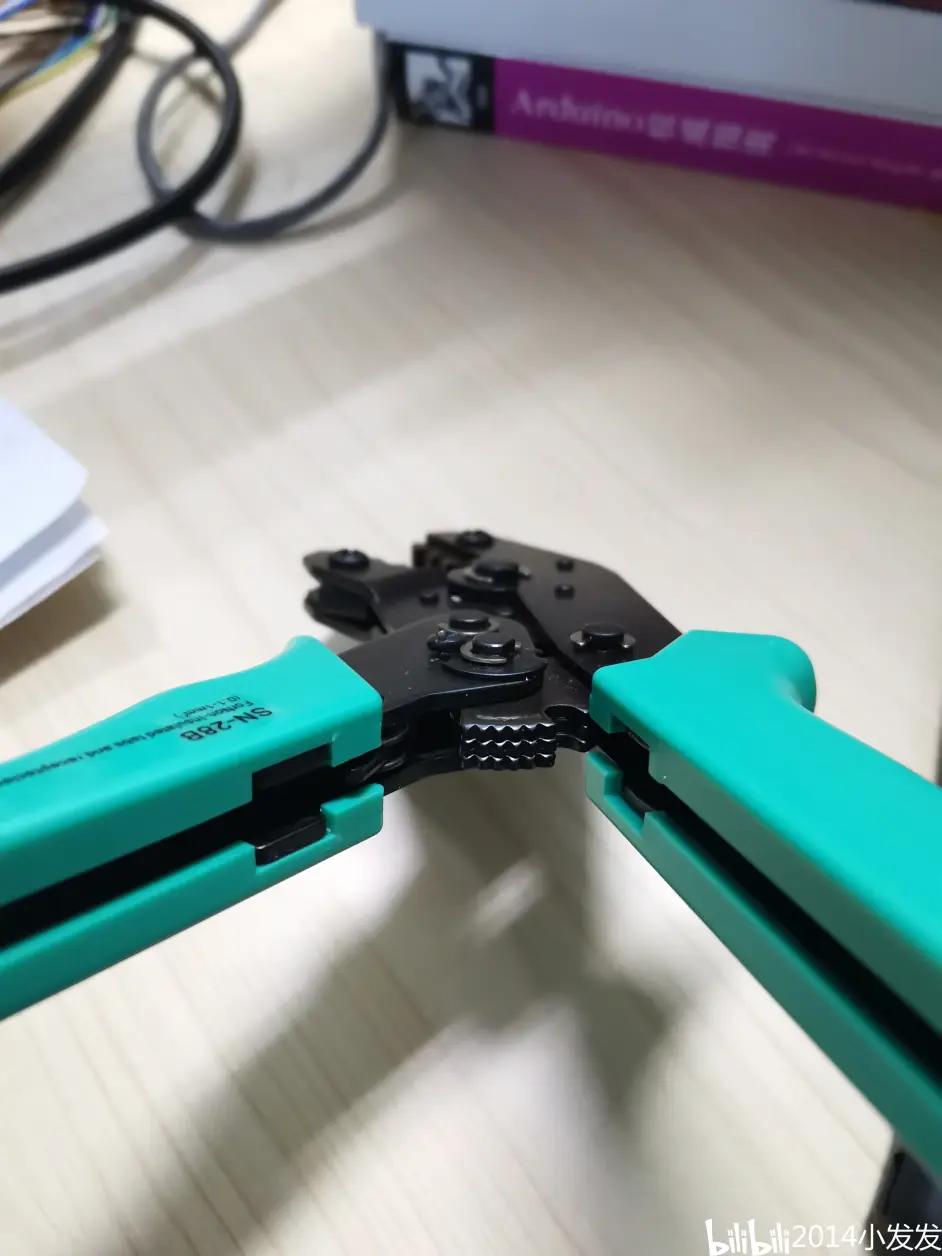
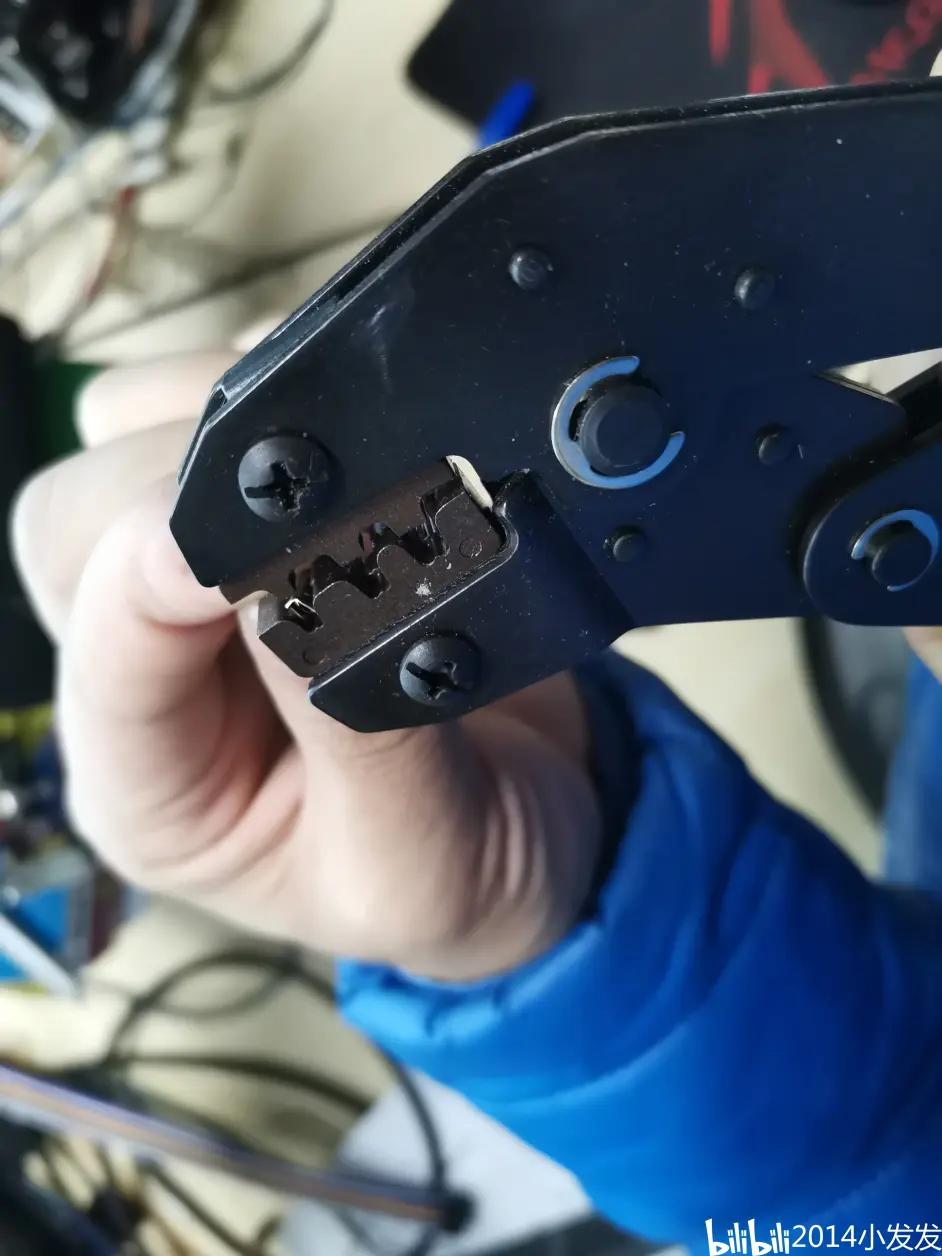
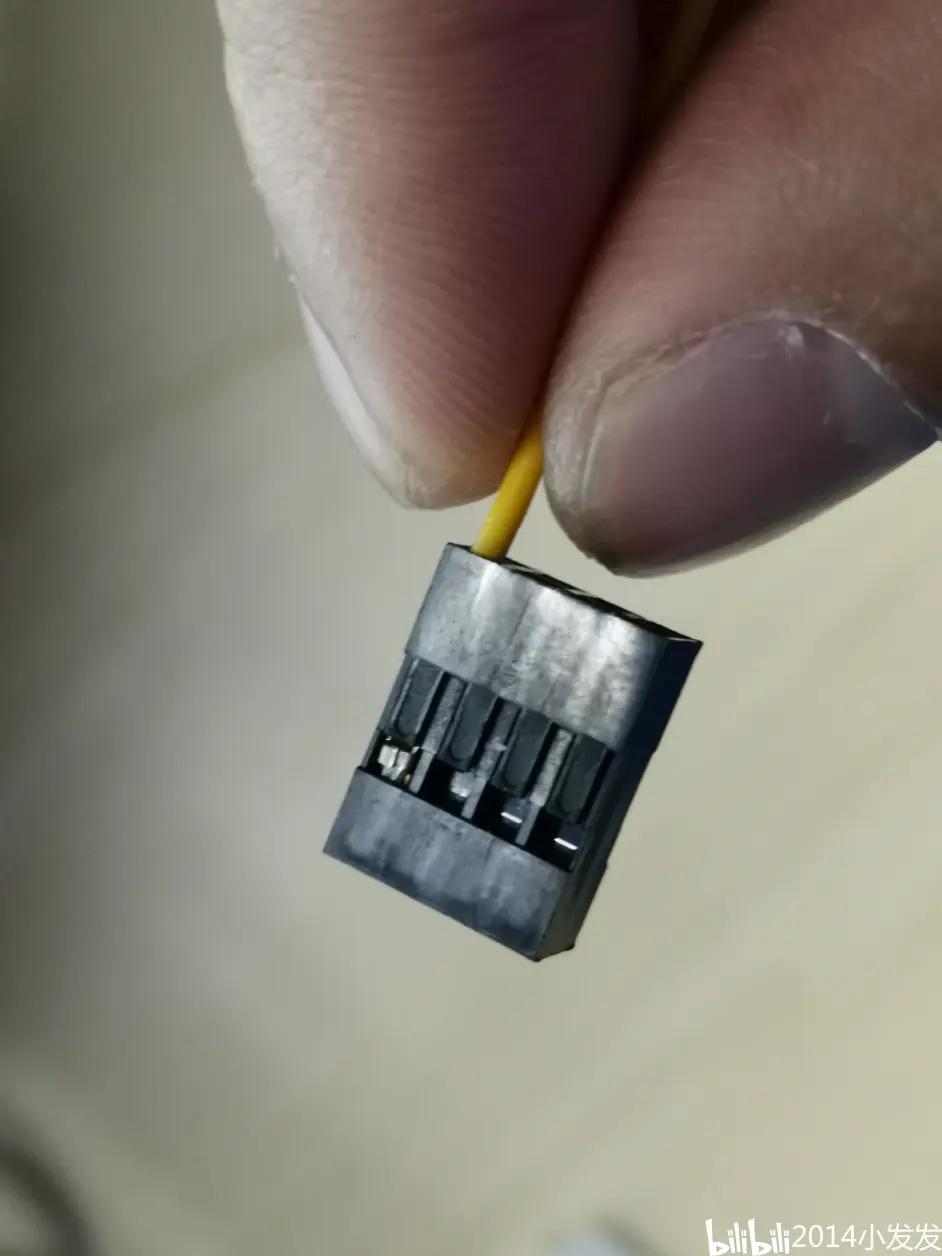
Use the outermost crimping port of the Dupont wire. In this picture, the upper port is slightly larger, corresponding to the opening for crimping, and the lower end is for crimping the copper wire. If you don't understand, continue reading or you can ignore it.

Key point 1: Hold the pliers with your right hand, hold the pliers with your right hand, hold the pliers with your right hand, fix the crimping pliers with your thumb and index finger, and place your middle finger and ring finger behind for leverage.
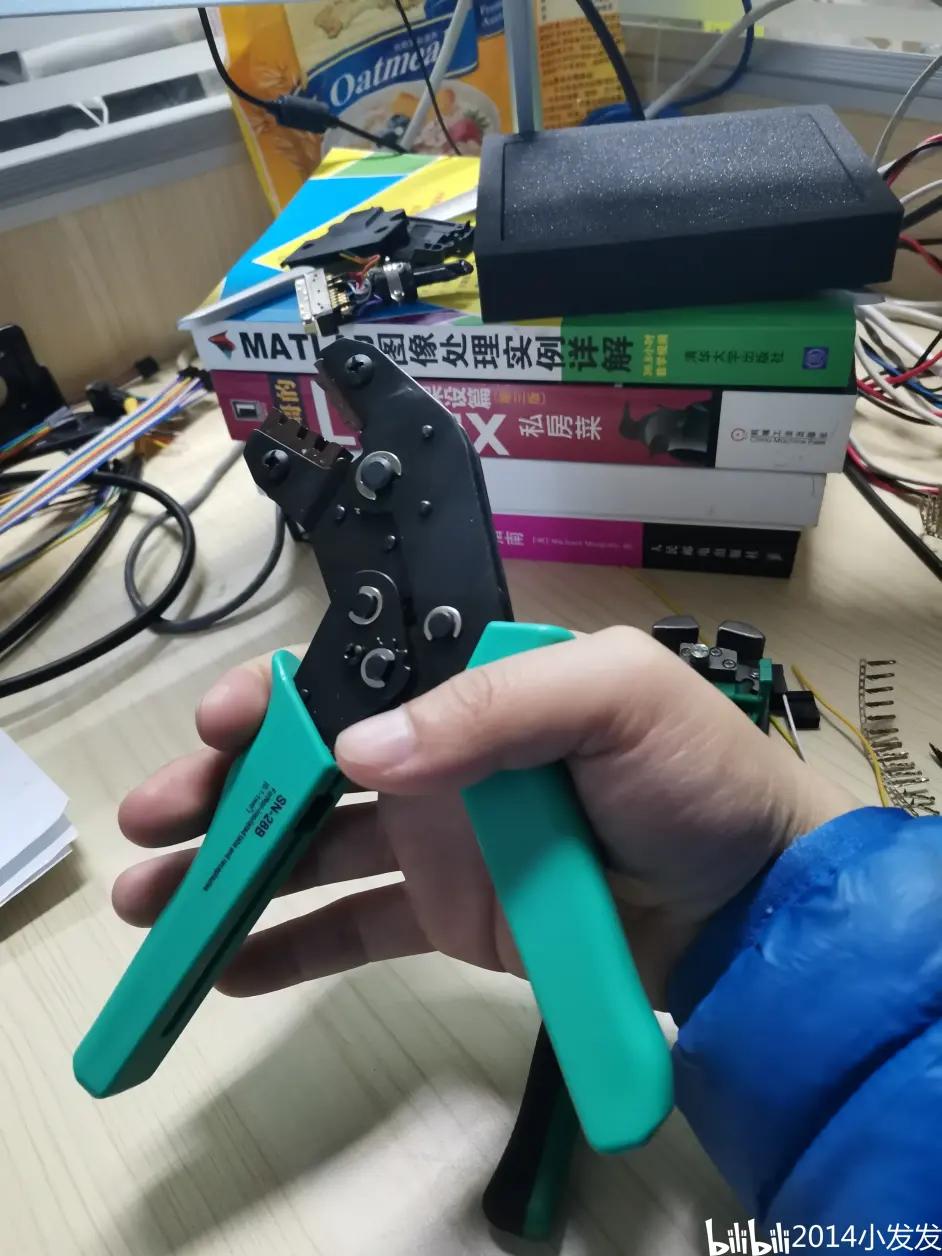
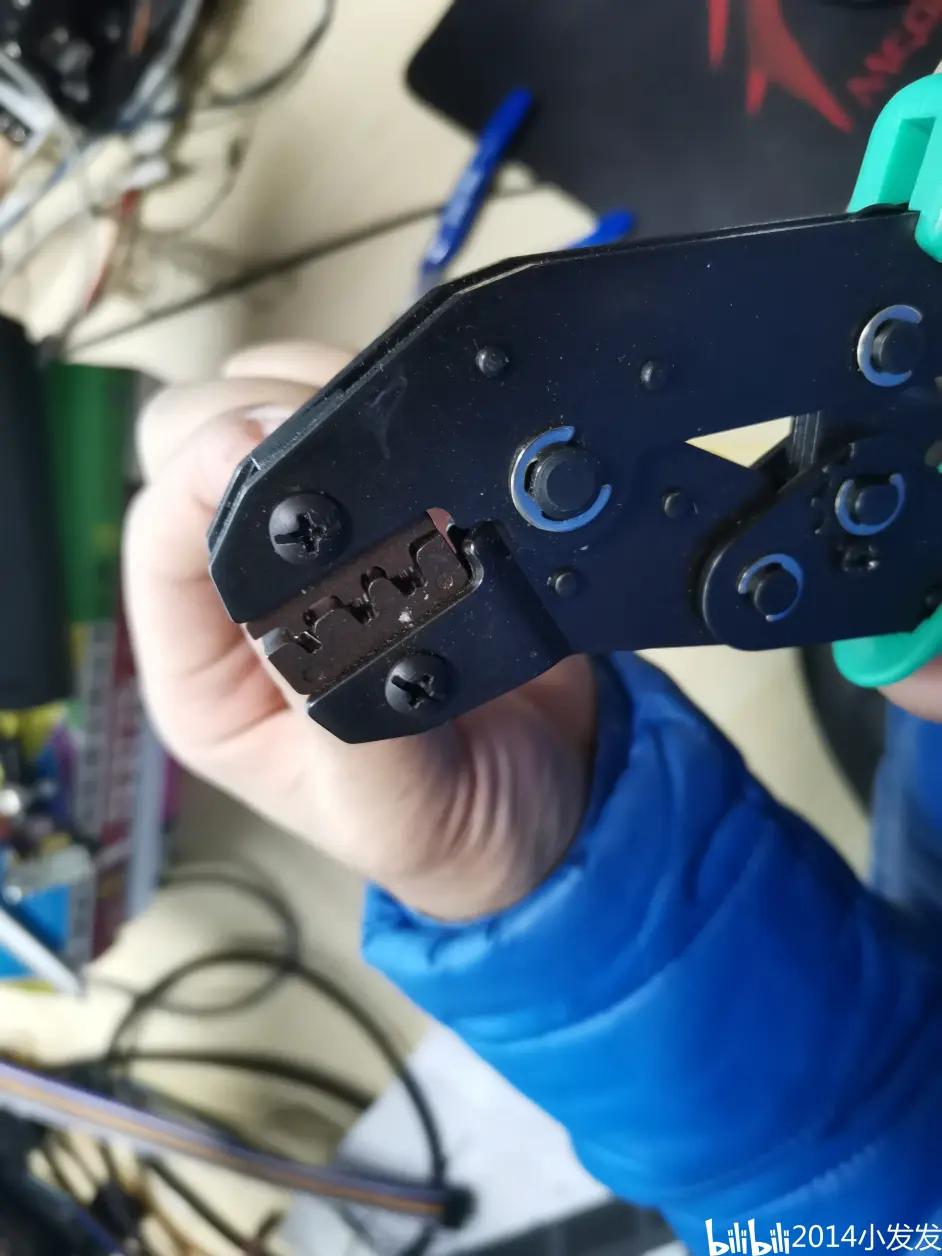
Change the position, hold the pliers vertically, and continue holding the pliers with your right hand.

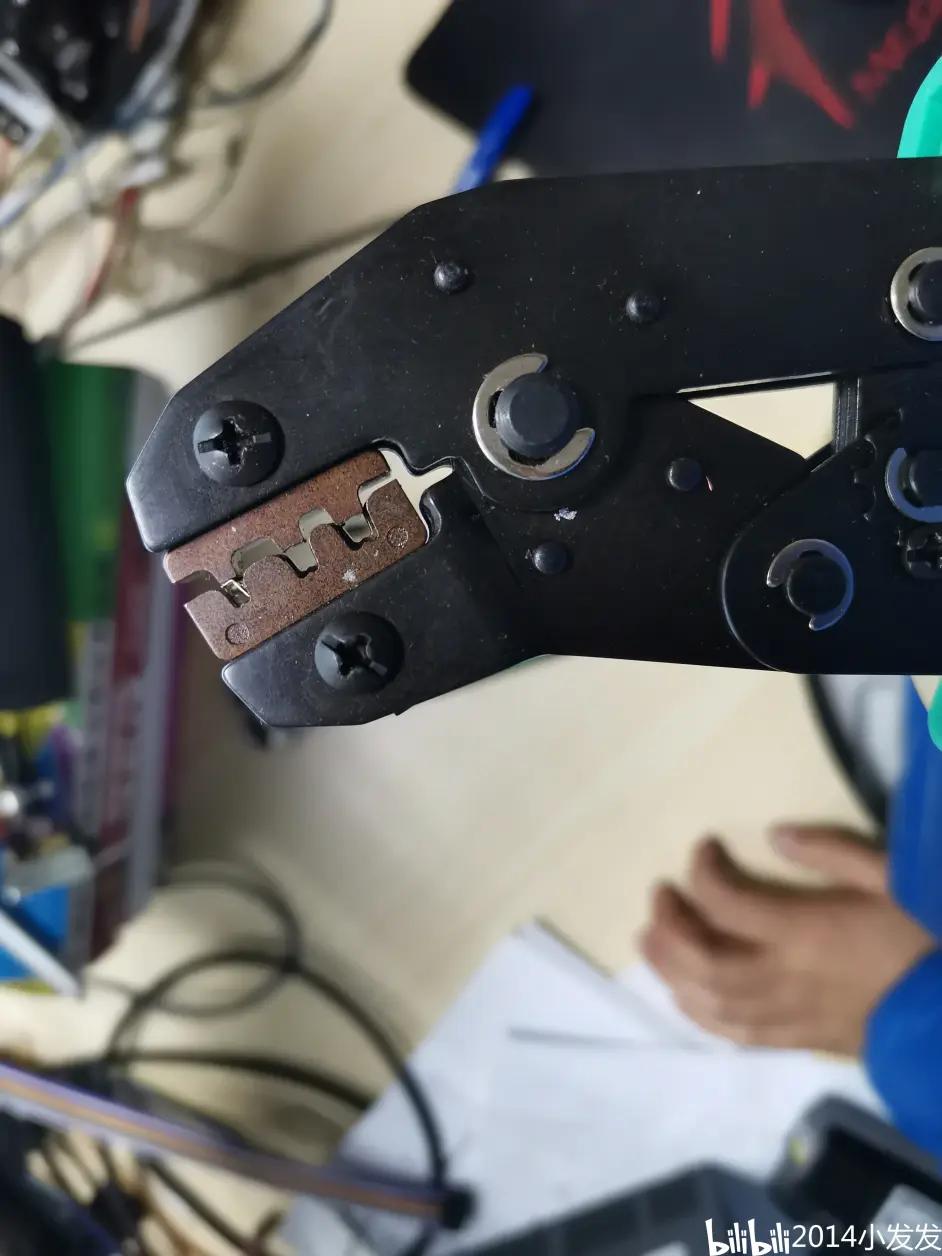
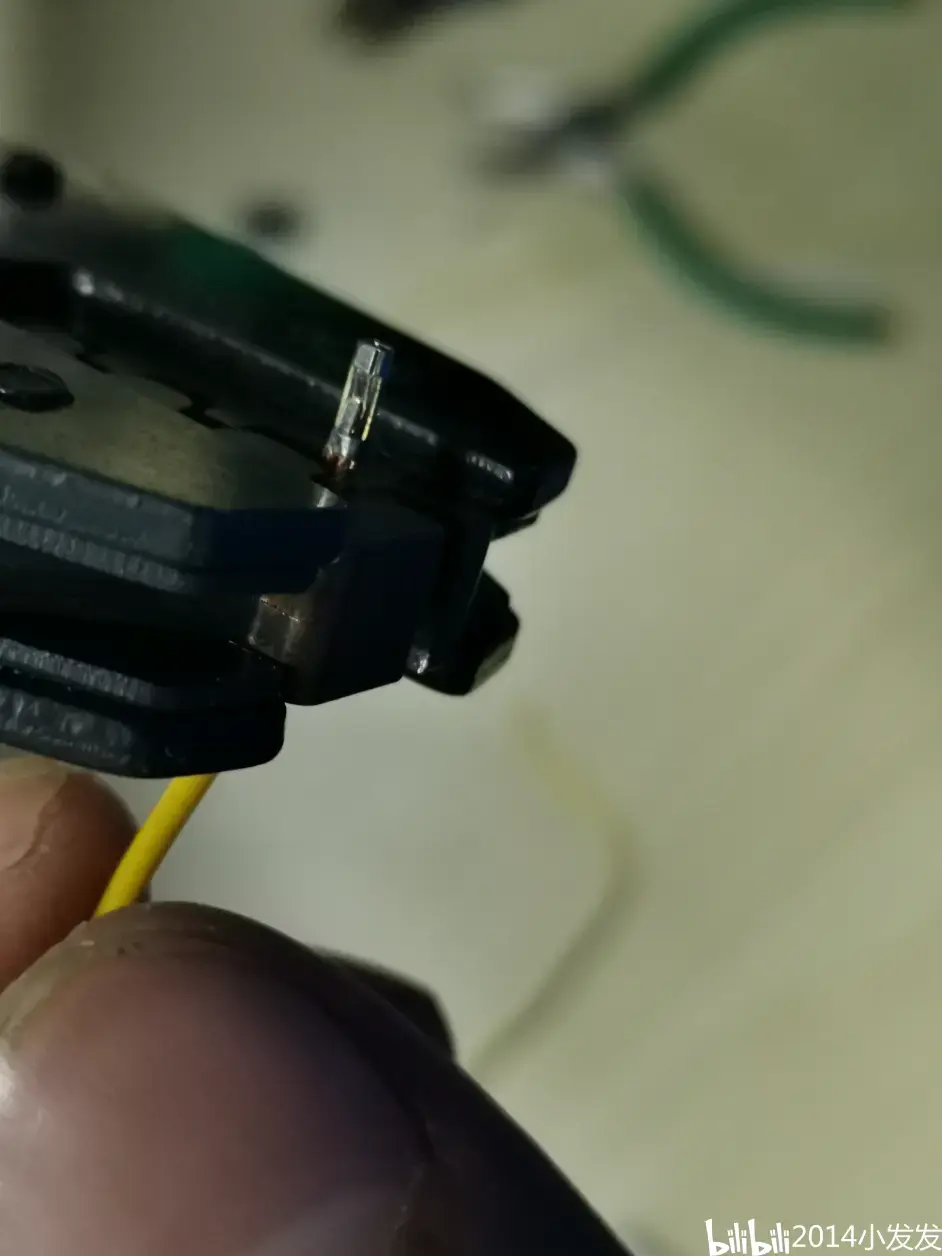
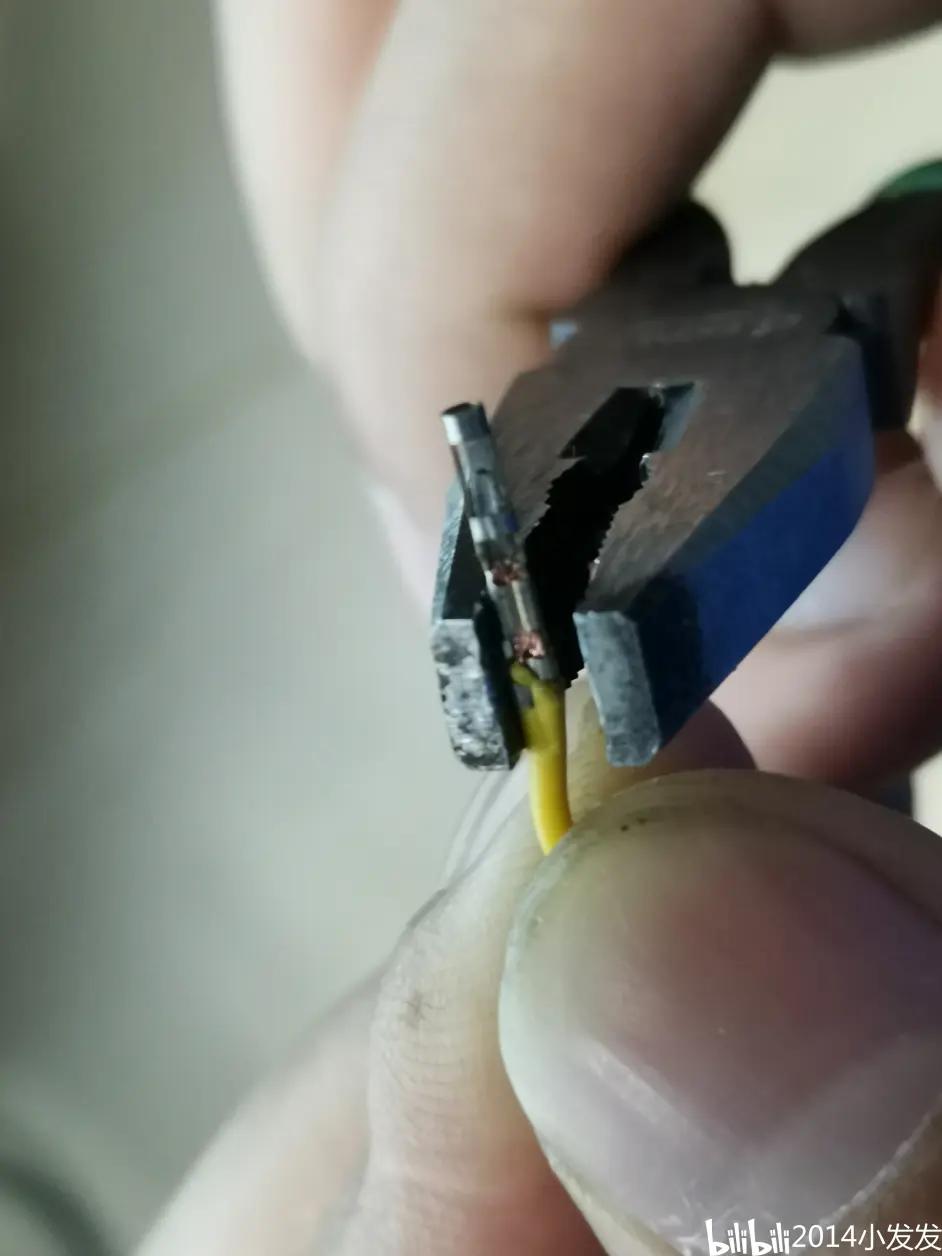
Place the terminal, Dupont wire female spring piece, hold the terminal with your left hand; pay attention to the orientation of the terminal, it should be facing downwards, with the opening facing downwards.
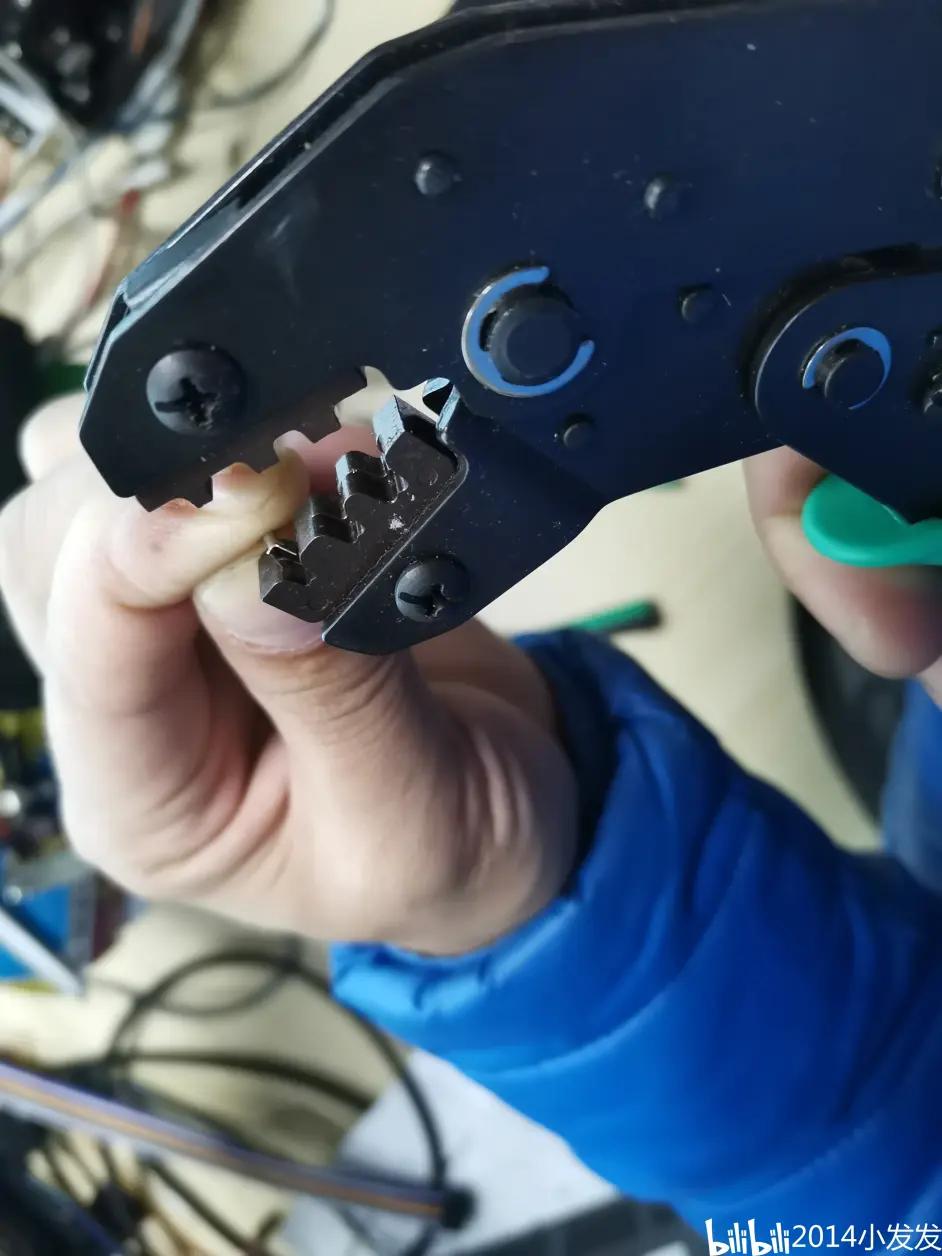
Crimp the terminal, two positions;
Continue crimping, the third position;
Here, if you gently press it just to the third position, that is, immediately release it after pressing the third position, without continuing to press down to the fourth position, then the terminal will be stuck; if you press the third position and don't release it or press the fourth position, it will be somewhere in between, and the terminal will be loose and can be moved. If you hold it upside down, you need to press it a little harder to prevent the terminal from falling off. The advantage of being loose is that you can adjust the position.
I usually don't pursue whether it is stuck or not. If it is loose, I press it a little harder.
Look at the other end, the groove is exposed, and the place where the copper wire is crimped is not exposed. It can be adjusted.
Usually, in the previous step, I pull it out where it extends, stop at the stuck position, and then press it a little harder. Then, proceed to thread the wire.
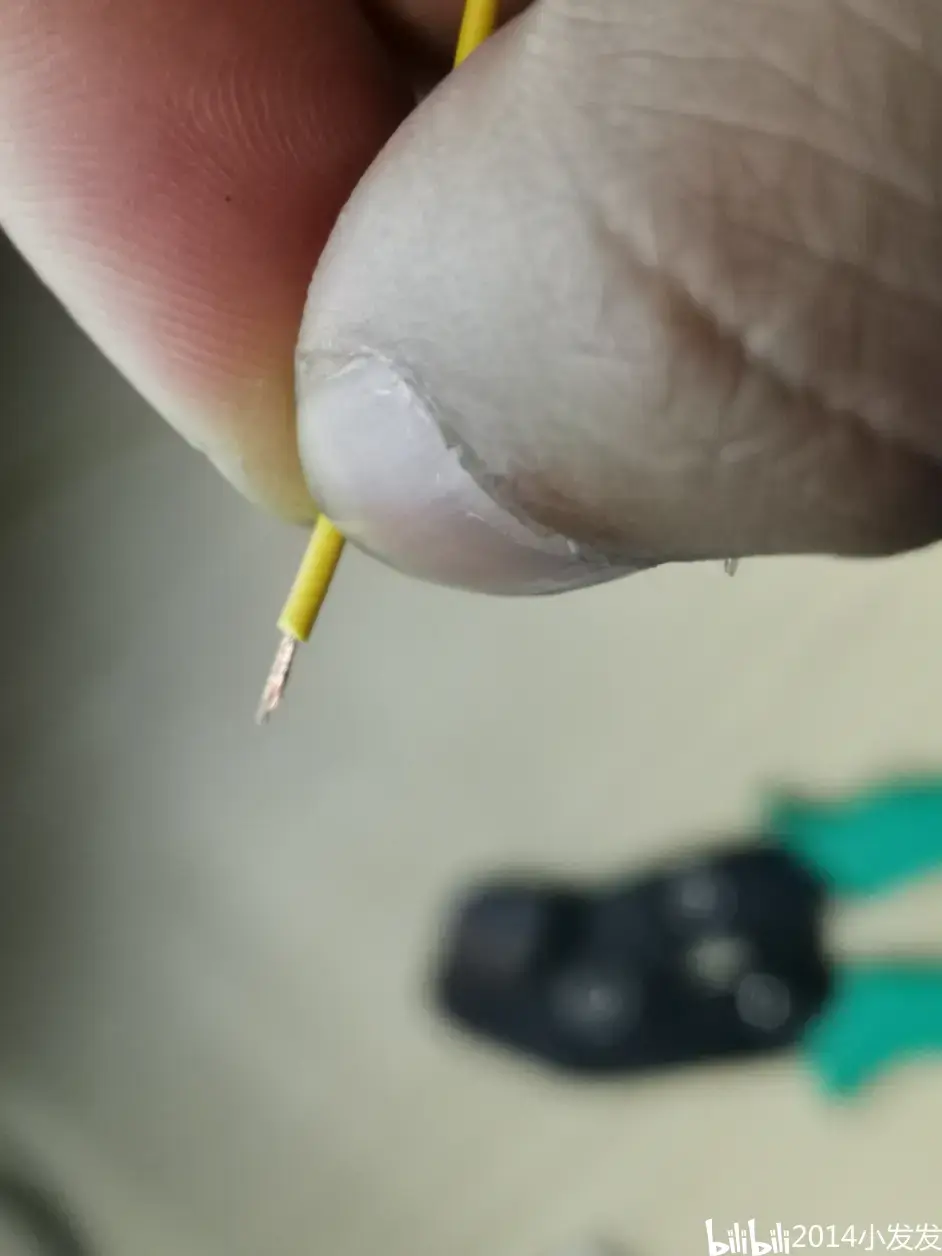
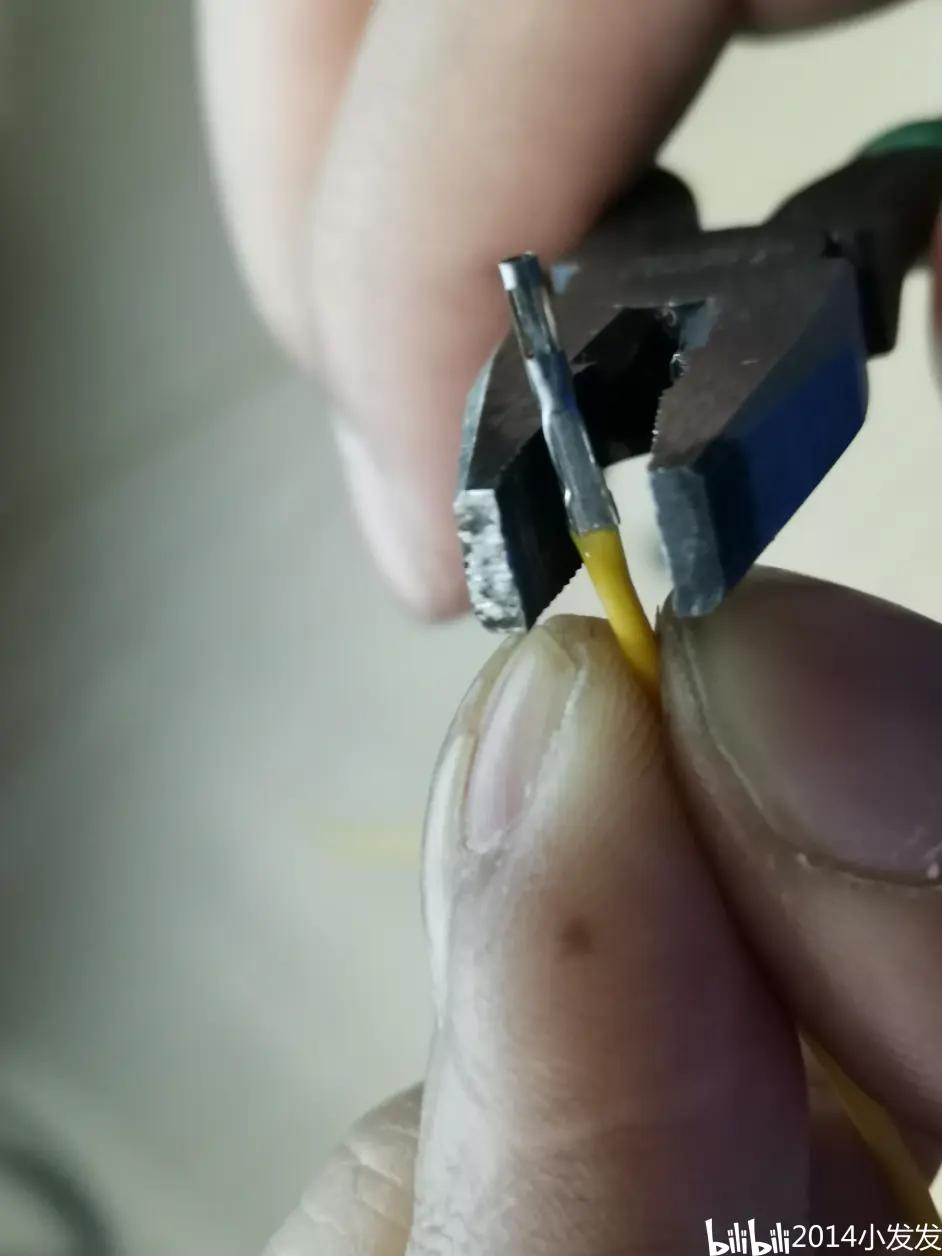
Strip the wire with wire stripping pliers about 2-3cm, and use a lighter to heat it if necessary.

After stripping the wire, twist and roll it into a strand to facilitate threading.
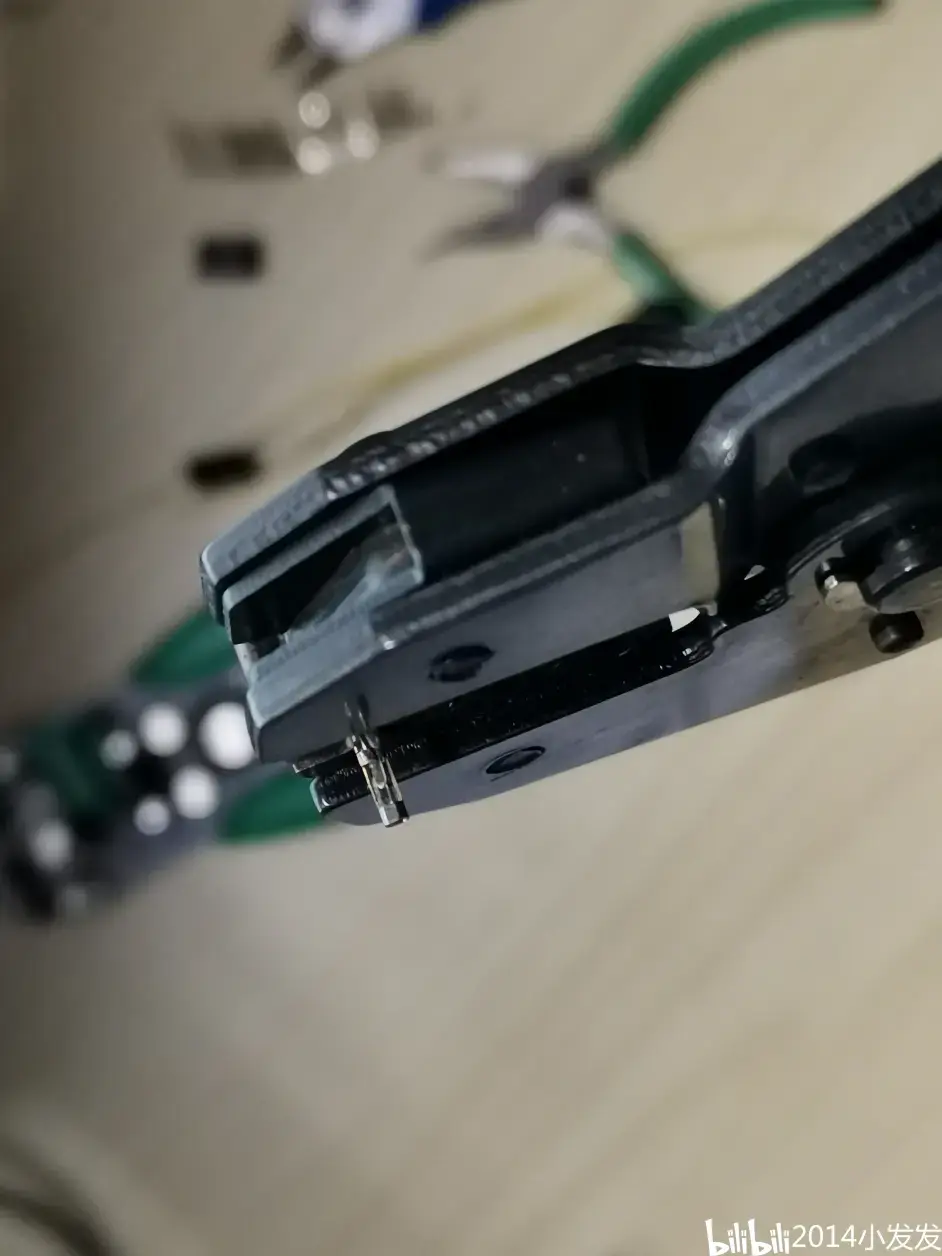
Still hold the pliers with your right hand, hold the wire with your left hand, and thread the wire.

Twist and turn, the wire is threaded; the wire should not be too thick, the wire gauge is 26AWG; the specification written on the pliers is 0.25mm².
AWG: American Wire Gauge standard

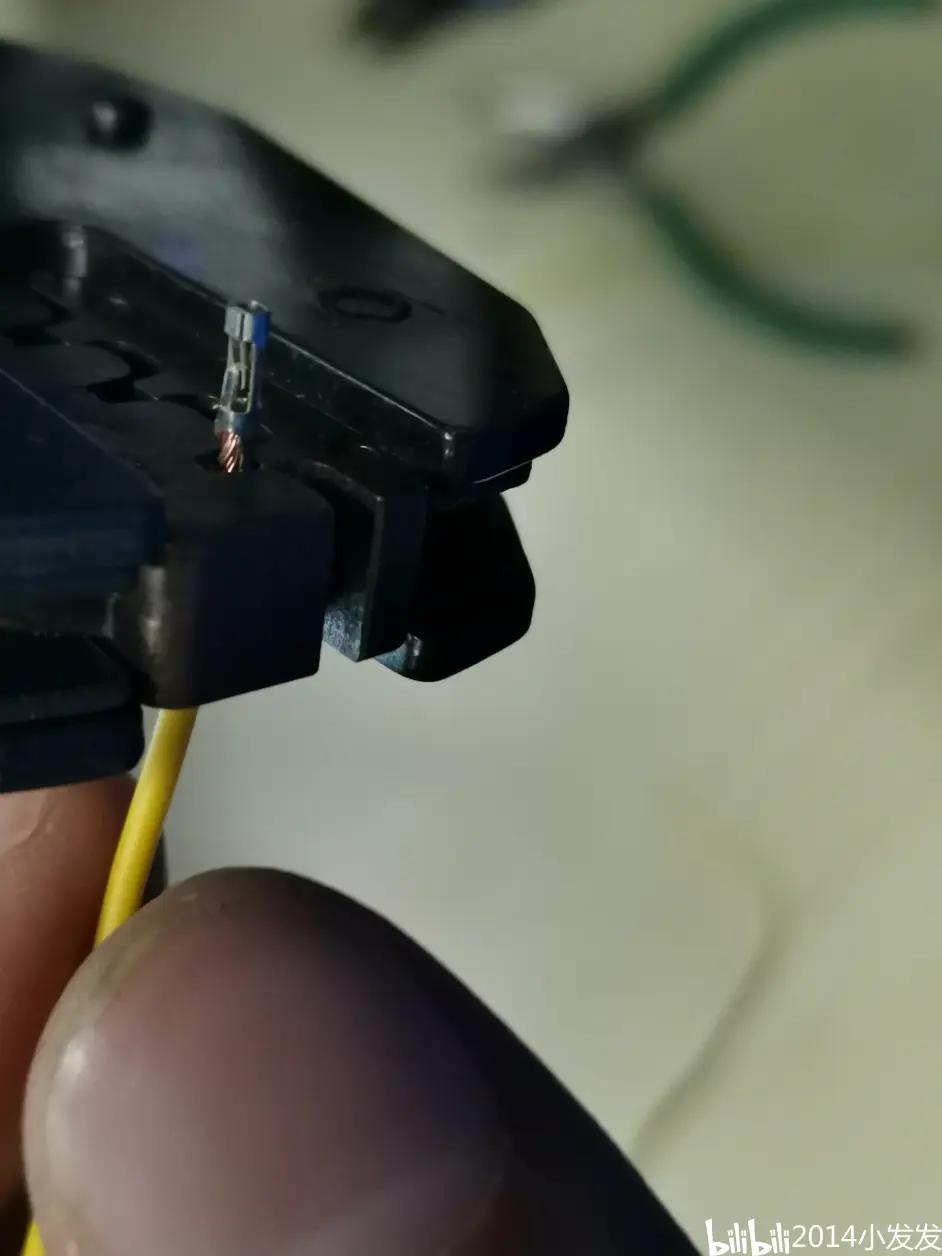
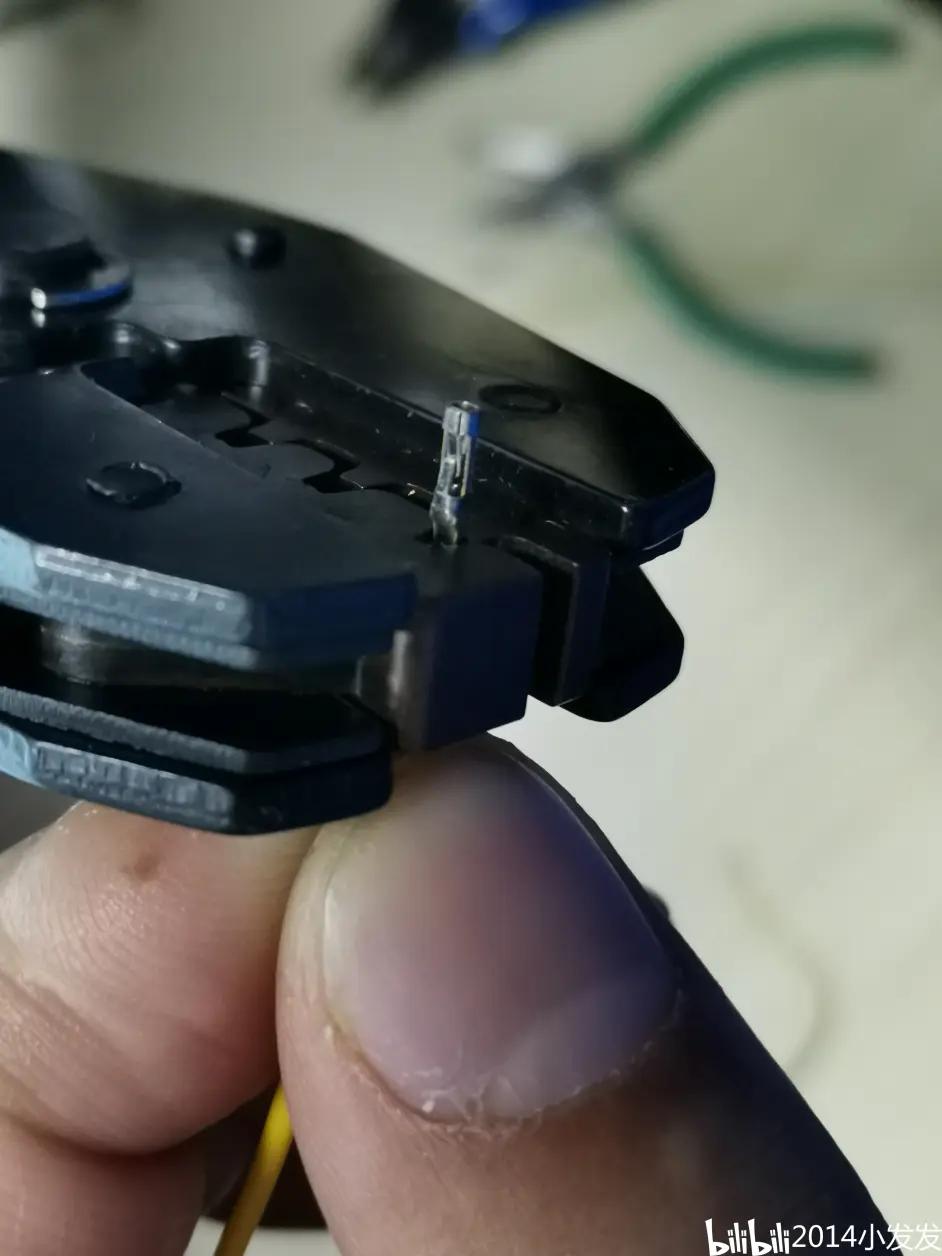
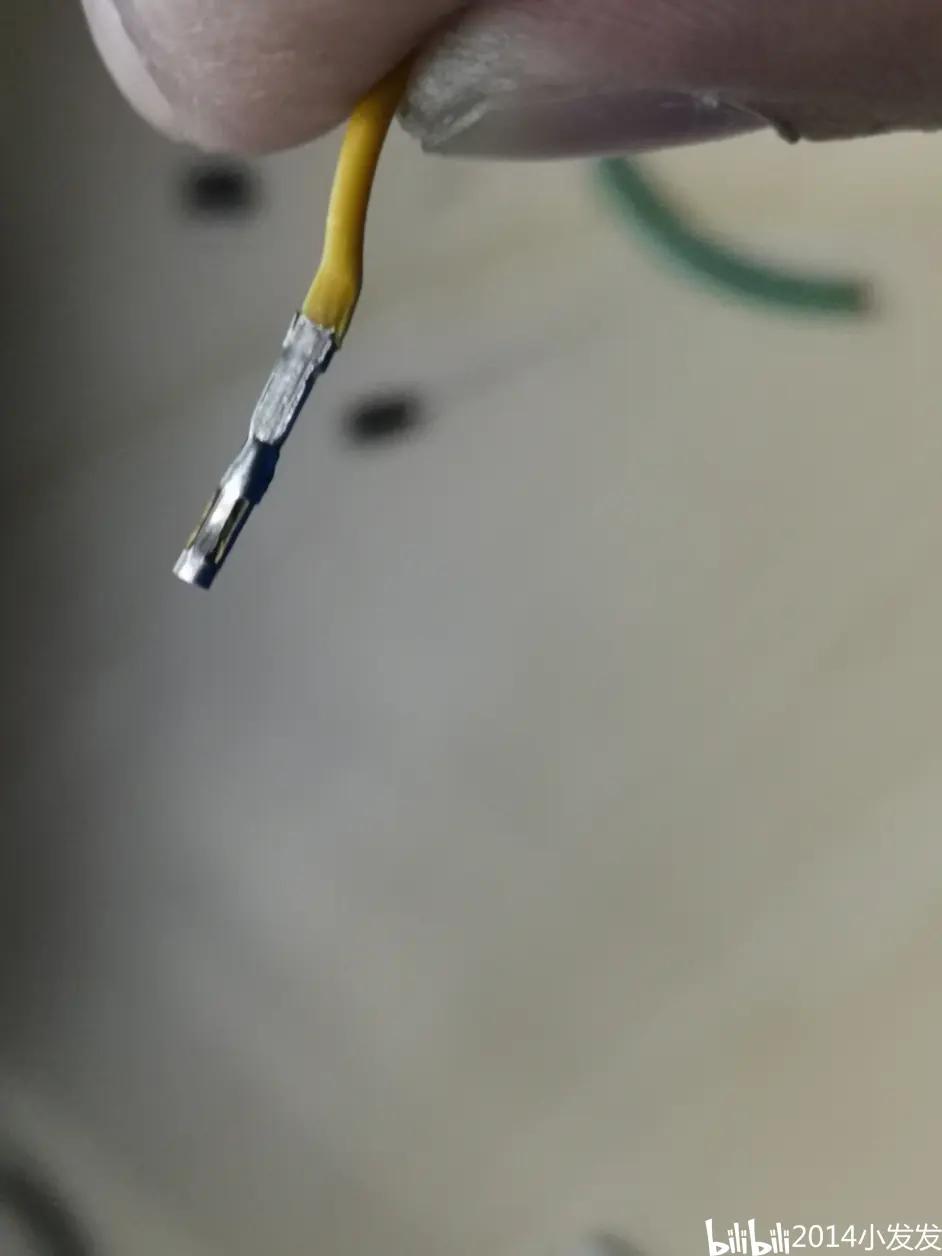
Key point: After threading the wire, the copper wire should come out a bit; as shown in the picture.
Key point: After threading the wire, the copper wire should come out a bit; if the stripped wire is longer, the copper wire can be slightly longer as well.
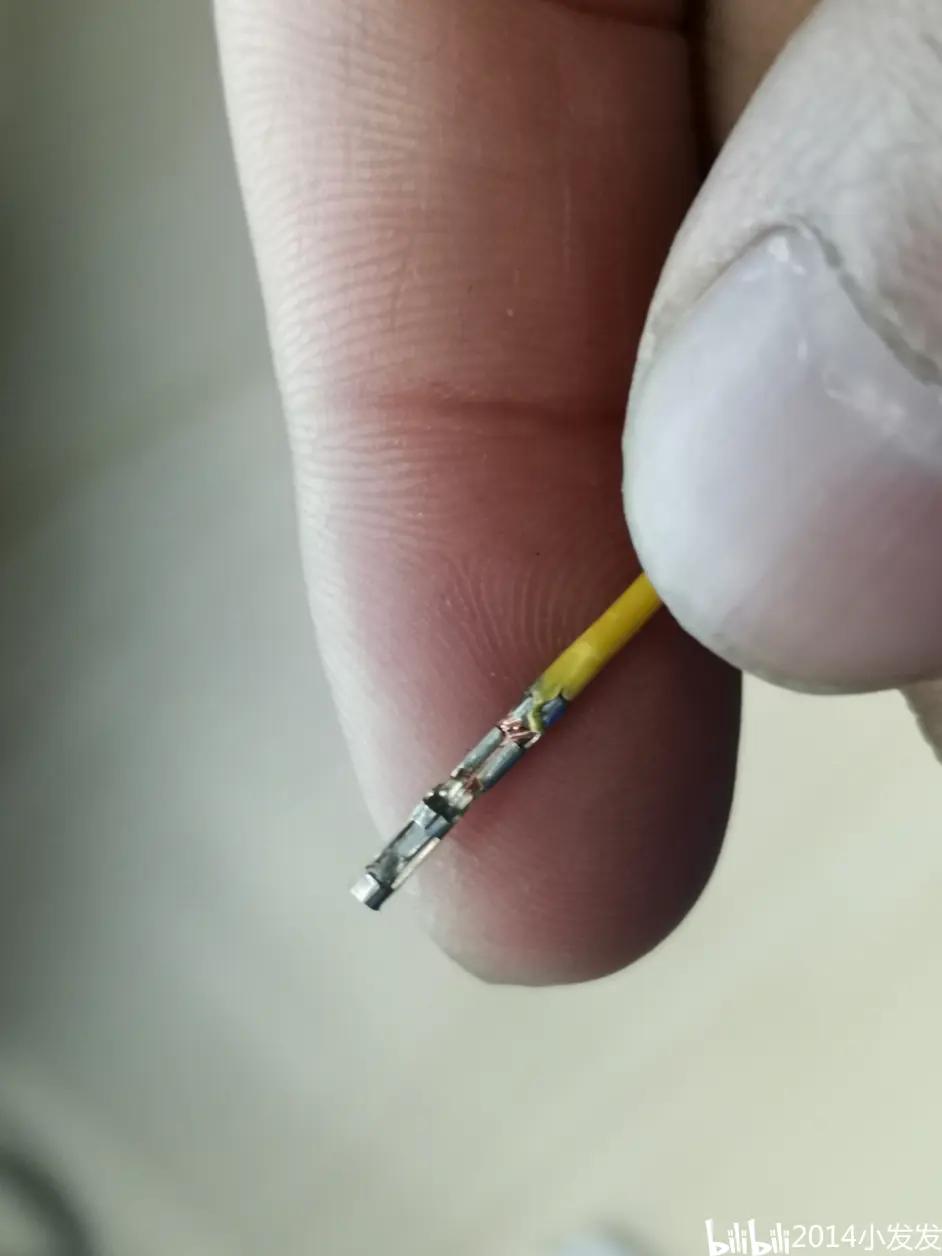
Qualified:

Not qualified:
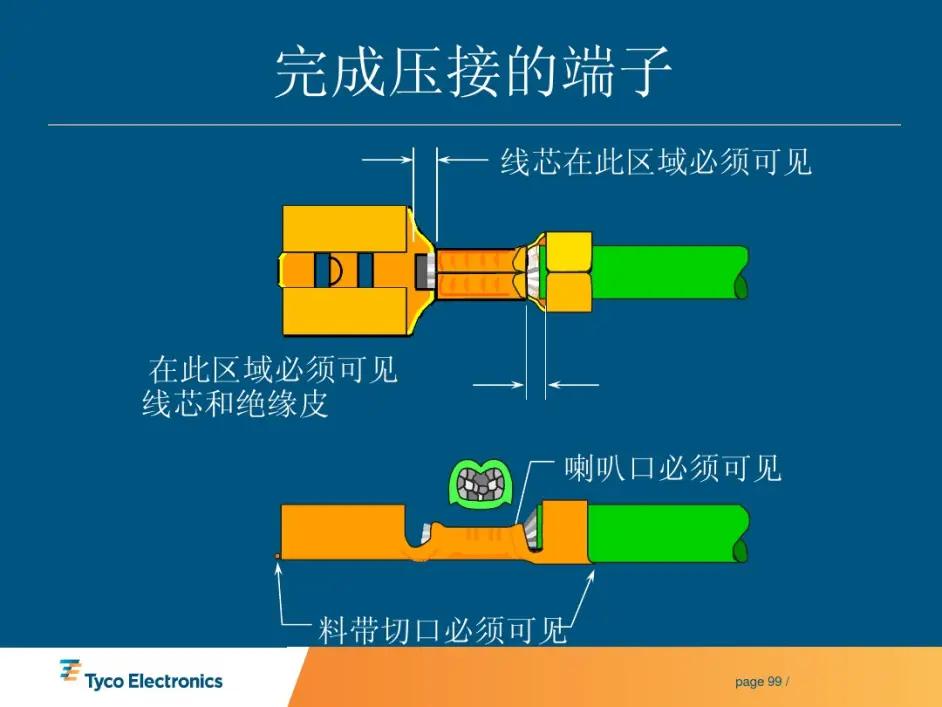
This picture roughly means that the insulation should be pressed down, and the copper wire should be exposed; the trumpet mouth means that the insulation should not reach the layer where the copper wire is crimped.
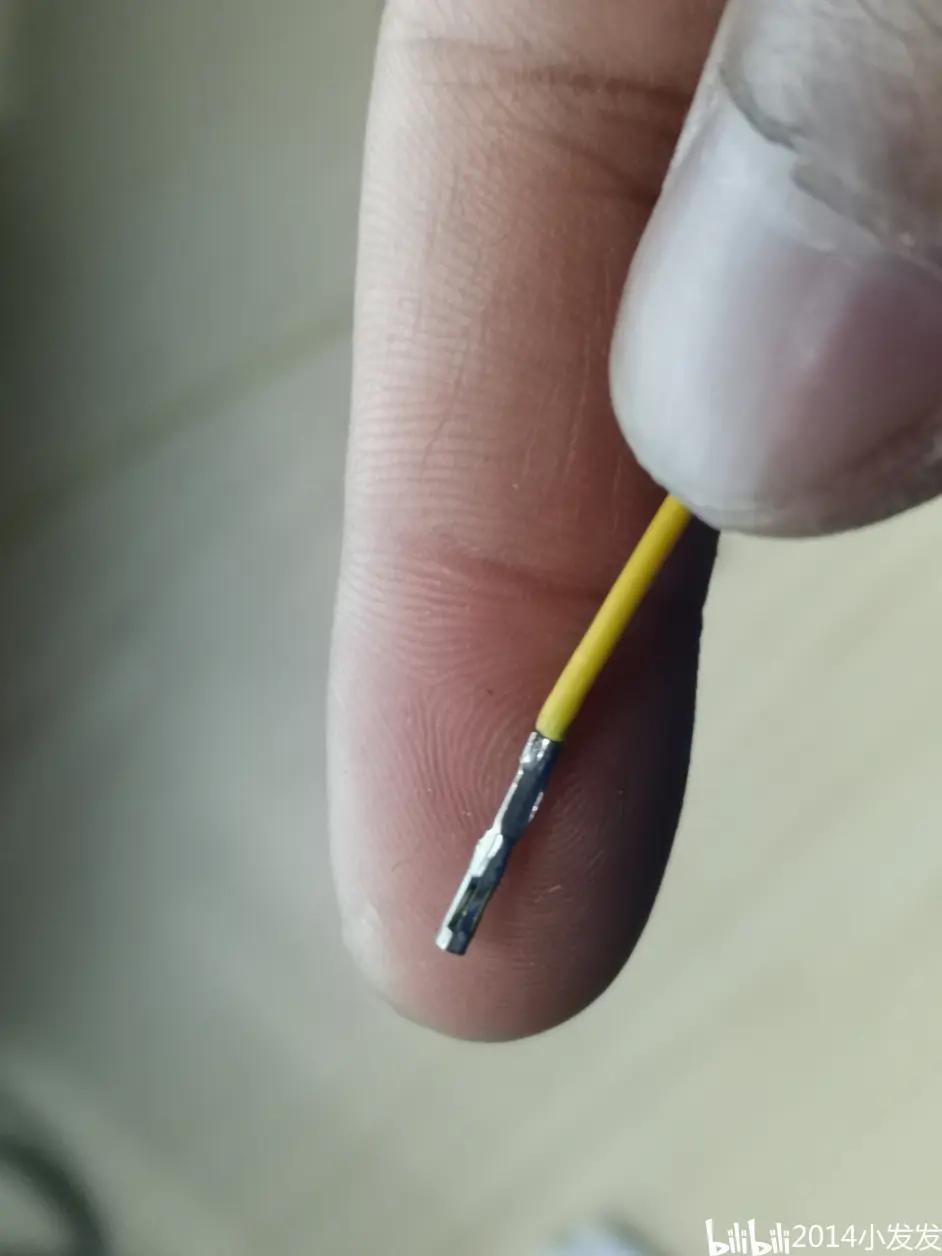
Press it firmly; if you don't have enough strength, you can press the lower end on the table and use the palm to exert force to fully crimp it, then release it.
After crimping, front view

After crimping, back view
Key point: If you try to insert the terminal at this time, you will find that the end will get stuck. It is slightly wider, so you need to use flat-nose pliers to press it slightly.
Press the end slightly
Take a look at the back position, mainly press the upper end of the insulation
After pressing into a round shape, front view
After pressing into a round shape, back view
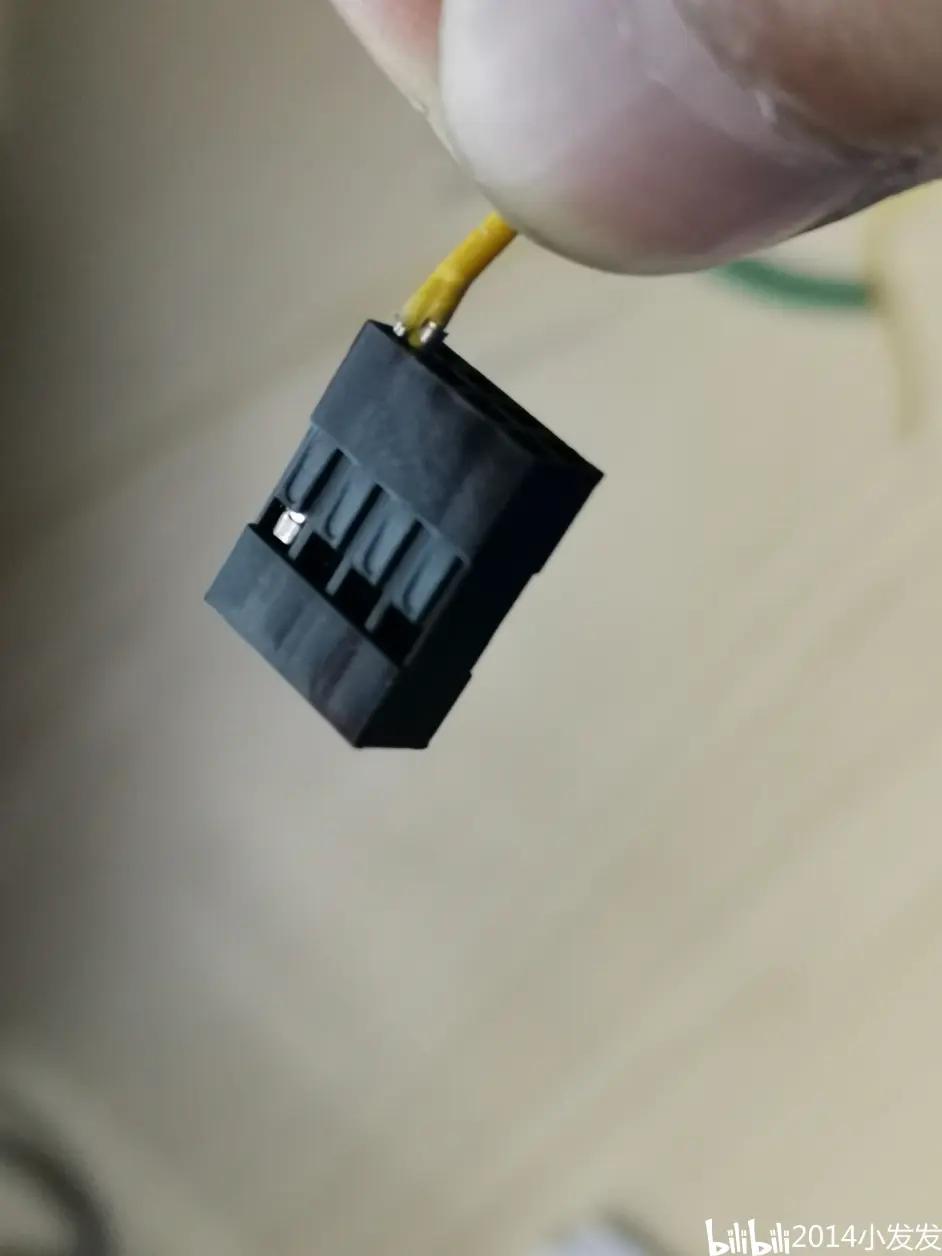
Final result, when inserted, it will make a crisp sound. Pull it hard, it is very firm.
Finally, practice more hands-on, and you will learn after doing about ten.
Here is a video tutorial for a more intuitive and coherent explanation.
 How to Use Dupont Crimping Pliers